In light of not being entirely happy with the shape of the sleeves on the first blouse I'd made, it was necessary to adjust the pattern slightly. I had ended up moving the sleeve seam in by a massive six inches in order to reduce the flounce of the sleeves. As I had to construct and gather the sleeves before I found out how big they were, this was a bit of a fiddle and I also couldn't reduce the amount of fabric at the shoulder.

In order to keep the right sort of shape and smooth the shoulders out, I decided to take the six inches from the top centre of the piece. I folded the pattern piece in half lengthways, measured six inches from the fold, and pinned it together at this point. This left the pattern kind of 'pointy' at the shoulder, so when I laid it out I added a bit more of a gentle curve at the top, like the original shape only narrower across the top.
I also shortened the sleeve significantly, measuring from armpit to elbow for an idea of a suitable length, making this distance out on the outer edge of the pattern piece and cutting from one side to the other following the same curve as the existing piece.
The end result was a smaller sleeve piece, less likely to bulge or billow, and hopefully about the right length to reach the crook of my elbow with a little to spare for seams and fraying.

The sleeves attached to the body as per the instructions (thankfully I hadn't had to change any seams or the reshaping would have been more complicated) and I sewed the usual 1/2 inch drawstring channel around the neckline, which was much easier without the additional channels in the sleeves to negotiate. It has to be said, in terms of simplicity, I LOVE this variant and may make another in blue just because it's so simple!

This is the basic shape of the garment, all attached and in one piece:

Nice and simple, yes?
Next, however, comes the slightly annoying and fiddley part:
To make the lacing and loops, I cut the selvedge off the fabric in long strips. A single strip would do for the lacing but I felt something a bit sturdier was needed for the loops. So I ran one through the machine, tripled over on itself, so I got a long strip with three layers of fabric. I cut this into small sections and ended up with a small collection of little ribbon bits. Like so!

These tiny, fiddly bits of cotton now have to be attached and neatly sewn into the front of the shirt in nice straight hidden channels. So I found the centre of the shirt (very important, we do not want wonky lacing!) and measured out from there so that the folded channels would be even. I then had to pin the loops into a fold of fabric so the stitching and ended would be hidden, like so:

Of course the stitching goes on the INSIDE of this top fold, right on the fold line, so I pressed the crease to make it nice and crisp before folding that layer back and re-pin it on the inside before sewing along the crease-line as best I could, and repeating on the other side:

Some of these loops have come out a little smaller than I had hoped - it's hard to tell when there's a layer of fabric covering what you're doing. Not the ones on the left, no - they just look smaller because they're sticking up.
Now for my OTHER piece of selvedge. I popped it through a darning needle and laced up the front, so now we have a nice matching lacing to go with the top! No dyeing required, it's all the same fabric.

TTFN!
 |
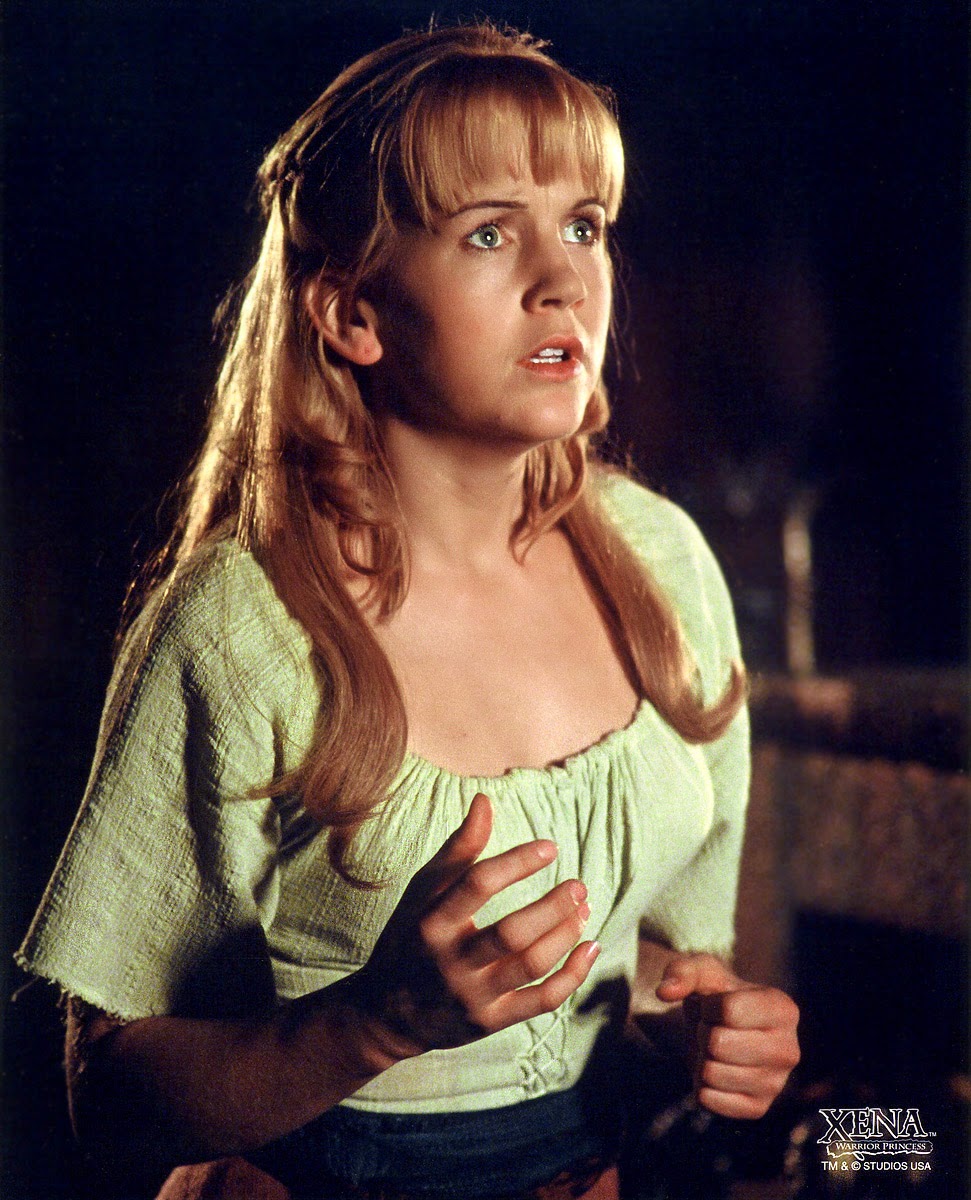
| Finished blouse. |
Very nice! You make it look so easy :p
ReplyDelete